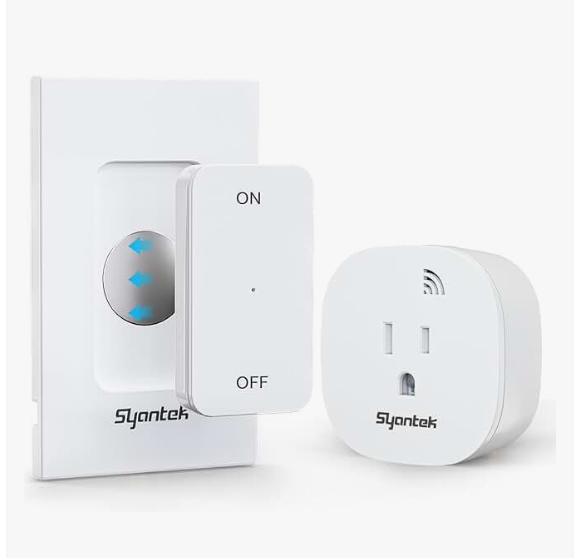

If you’ve ever pressed a button and watched the wrong lamp light up, you’re not alone. Remote outlet kits are convenient, but once you start adding multiple plugs and remotes, it’s easy to lose track of which button controls what. The good news is that there’s a simple, repeatable system you can use to organize your outlets, keep everything mapped correctly, and avoid confusion—even if you’re working with a 5-outlet kit, a compact 3-outlet setup, or just a single add-on plug.
In this guide, you’ll learn how to design a button-to-plug mapping system, pair and group your plugs the right way, create smart room setups, and fix common range or connection problems.
Step One: Start With a Plan
Before touching the remote, spend a minute sketching your room layout. Instead of thinking of each lamp as an individual device, group them into zones. A zone is simply a cluster of lights that make sense to turn on together.
For example, in a living room you might decide that the floor lamp by the sofa and the side table lamp belong in one group, because you usually use them together when reading. A corner lamp and a window light could be grouped for ambient evening lighting. Meanwhile, a bookshelf lamp or seasonal décor piece might stand alone as an accent zone.
By deciding on these zones in advance, you give yourself a logical framework for which plugs should share a button and which should remain independent.
Step Two: Create a Foolproof Mapping System
The easiest way to stay organized is to name and label everything consistently. Instead of vague names like “Lamp 1” or “Lamp 2,” give each plug a short, meaningful code. Use a room abbreviation plus the purpose—something like “LR Reading” for the living room reading zone, or “BR Right” for the right-side bedside lamp.
Once you’ve named them, label both the remote and the plugs. Small sticker dots or icons on the buttons are enough, and you can use matching tags or codes on the plugs themselves. If your household uses more than one remote, put a simple label like “Living Room” or “Bedroom” directly on the remote to avoid mix-ups.
Finally, keep a one-page “button map” handy. This can be as simple as a note taped inside a drawer or cabinet that lists which button controls which zone. It might feel unnecessary now, but two weeks later you’ll thank yourself when you don’t have to guess which switch handles the corner lamp.
Step Three: Pairing and Grouping Plugs the Right Way
Most outlet kits arrive pre-paired, but customizing them is straightforward once you know the sequence. The general approach is to start clean, then program each plug one by one.
- Reset first if needed. If things feel messy, clear the plugs or remote so you’re starting fresh.
- Pair one to one. Put a plug into learning mode, then press the button you want it tied to. If you want two plugs on the same button, simply repeat the process with the second plug.
- Keep certain devices separate. Not every lamp should be grouped. A single-purpose light—like a nightstand lamp—should get its own button.
- Create a master group. If your remote supports it, you can program one button to control all plugs in the room. This is especially handy for a “goodnight” or “movie mode” command.
- Re-pair as needed. If you ever notice a button controlling the wrong plug, clear that plug and re-assign it properly. Always test before pushing furniture back into place.
Example Room Setups
To make this system practical, let’s walk through a few proven layouts.
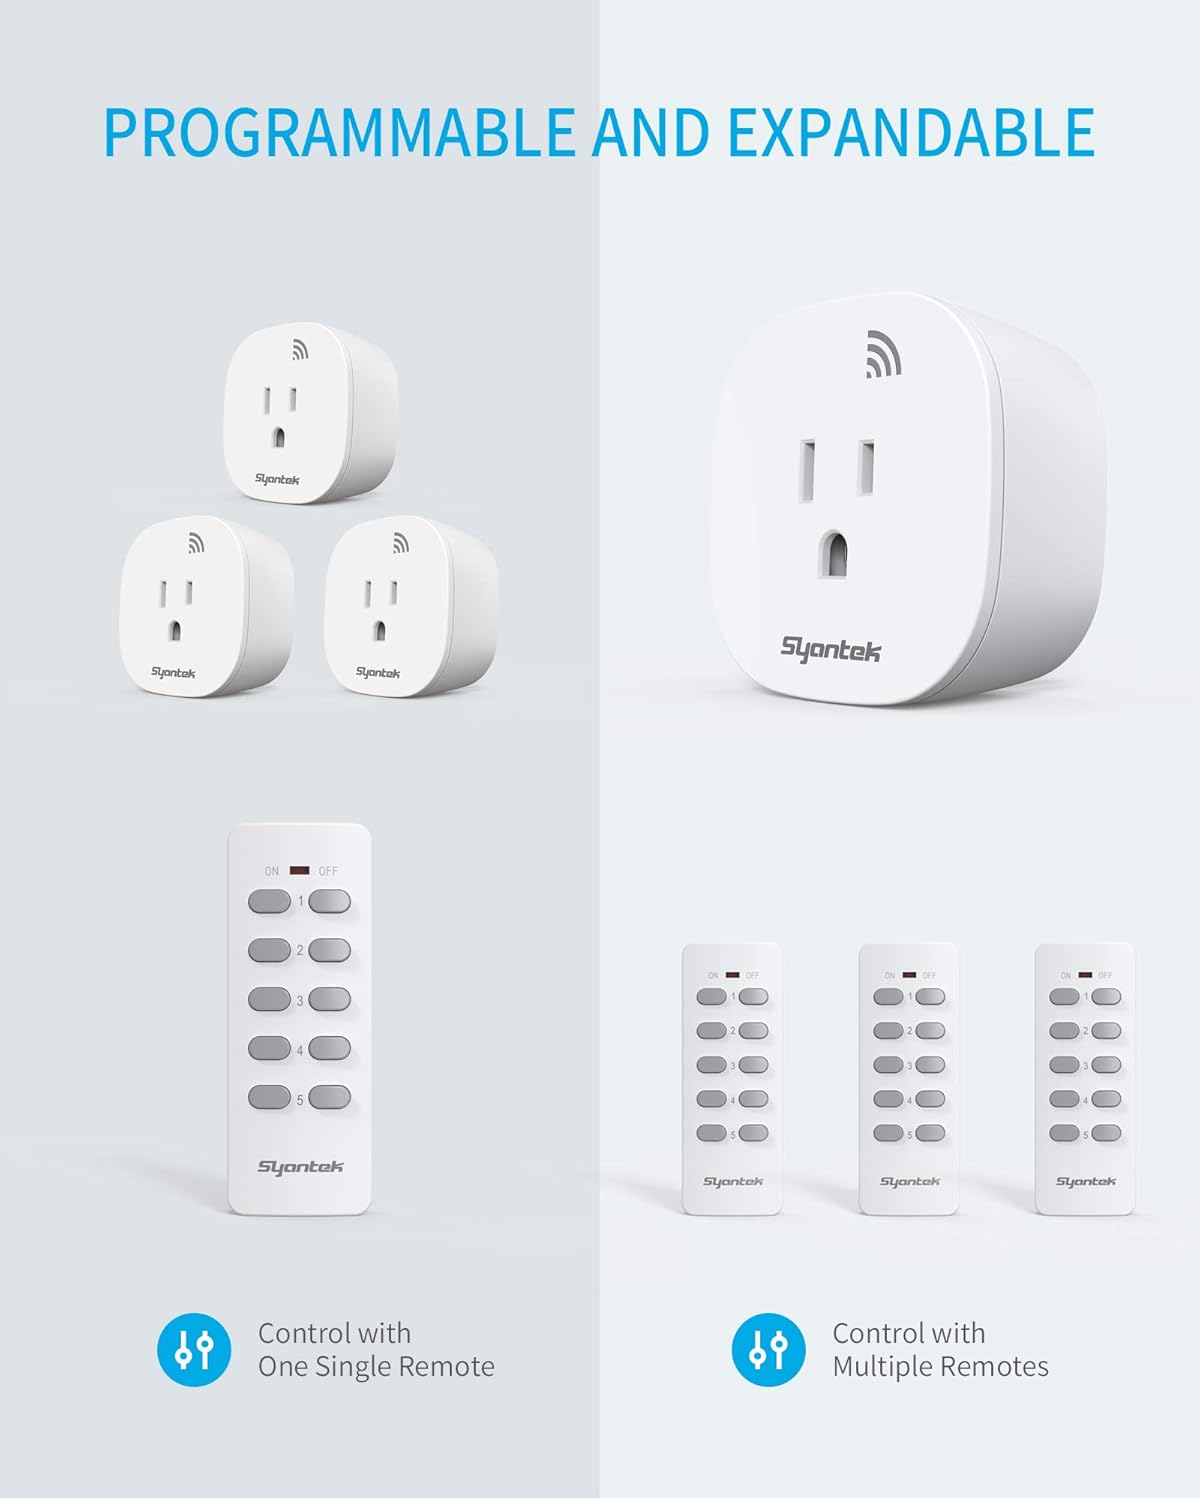
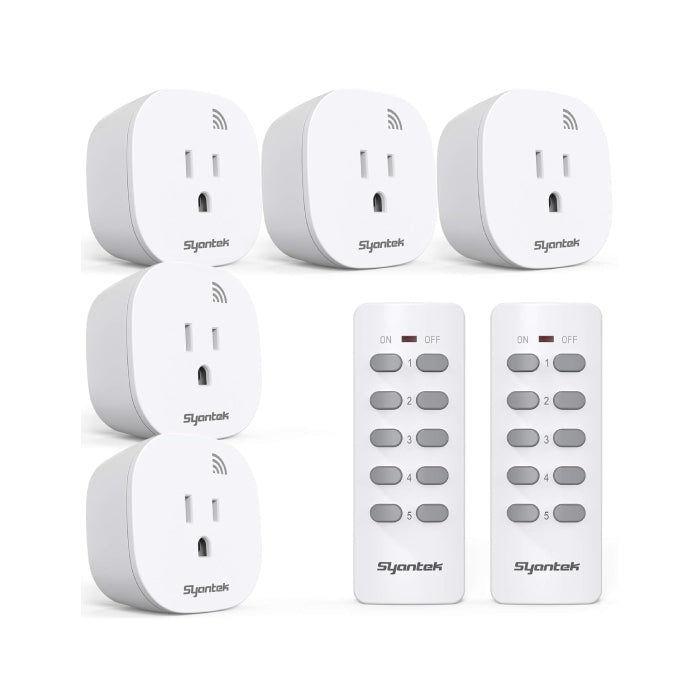
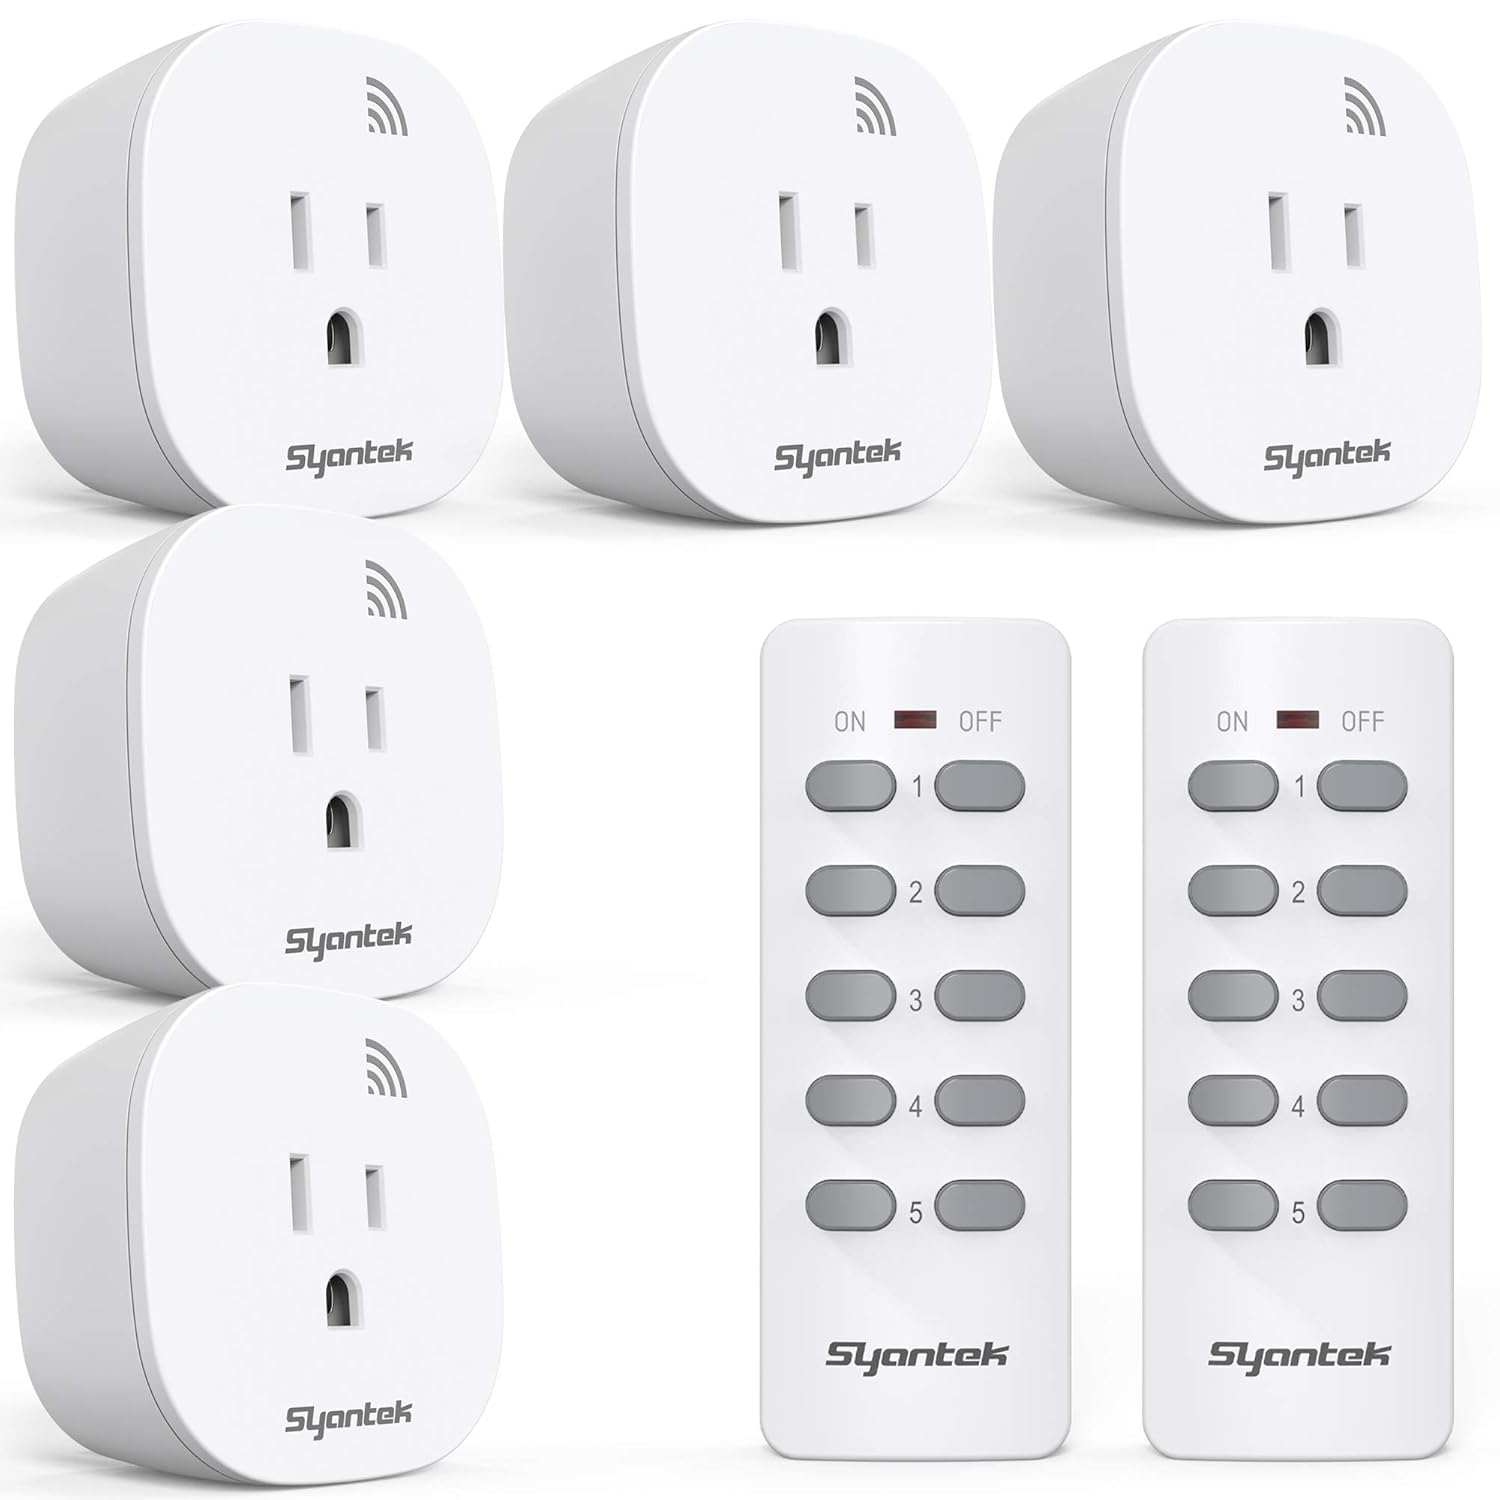
Whole-Room Living Space (5-Outlet Kit):
One button controls the reading lamps by the sofa, another handles ambient lights in the corners, and a third manages accent lighting. A fourth button becomes the master “all lamps” control, while the fifth can be saved for seasonal décor like a Christmas tree or window candles. This setup works because it balances daily use with flexibility.
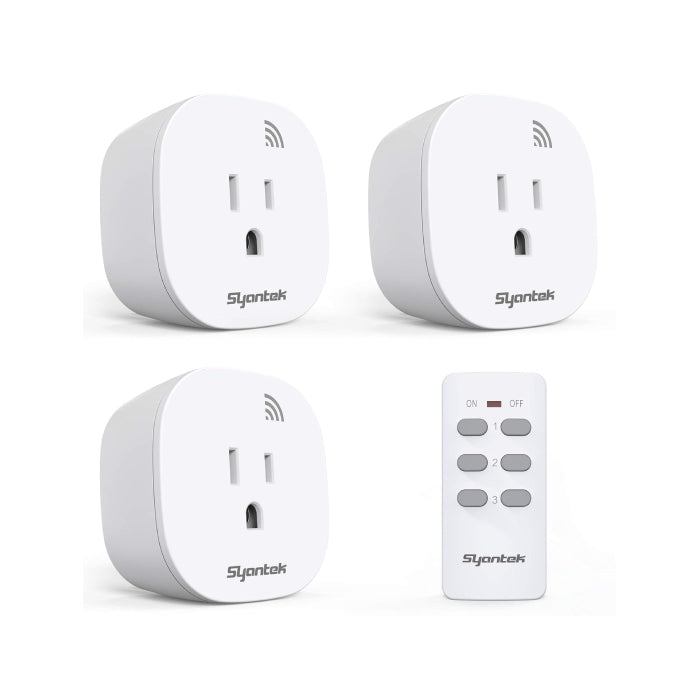
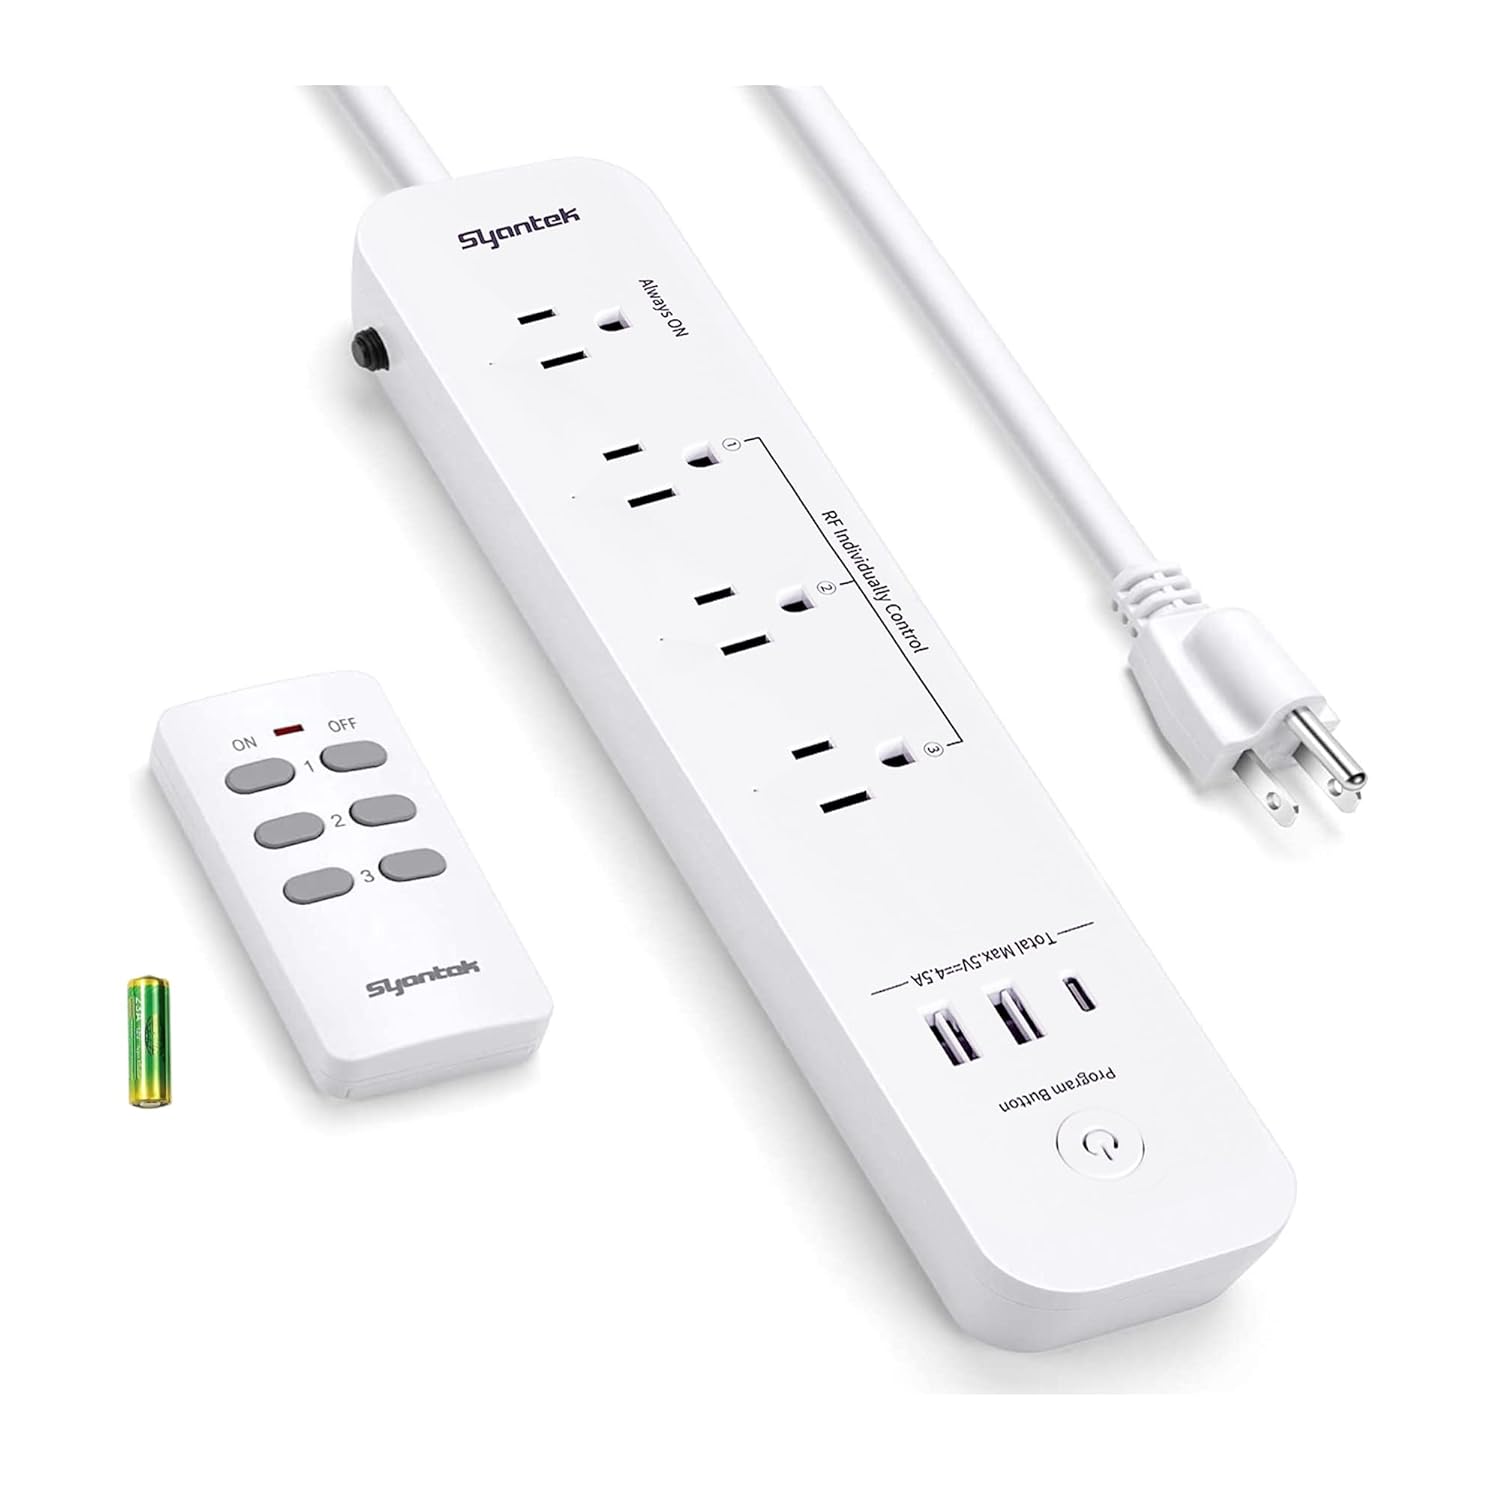
Compact Living Room (3-Outlet Kit):
Here, each button is dedicated to one lamp: sofa, window, and corner. This simple design eliminates accidental “all-on” moments and ensures each lamp is controlled independently.
Bedroom Night Routine (3–5 Plugs):
Bedside lamps can be grouped on one button, while dresser or mirror lights sit on another. A third button might handle seasonal window candles. If your remote supports it, a “lights out” button is the perfect way to finish your day with a single tap.
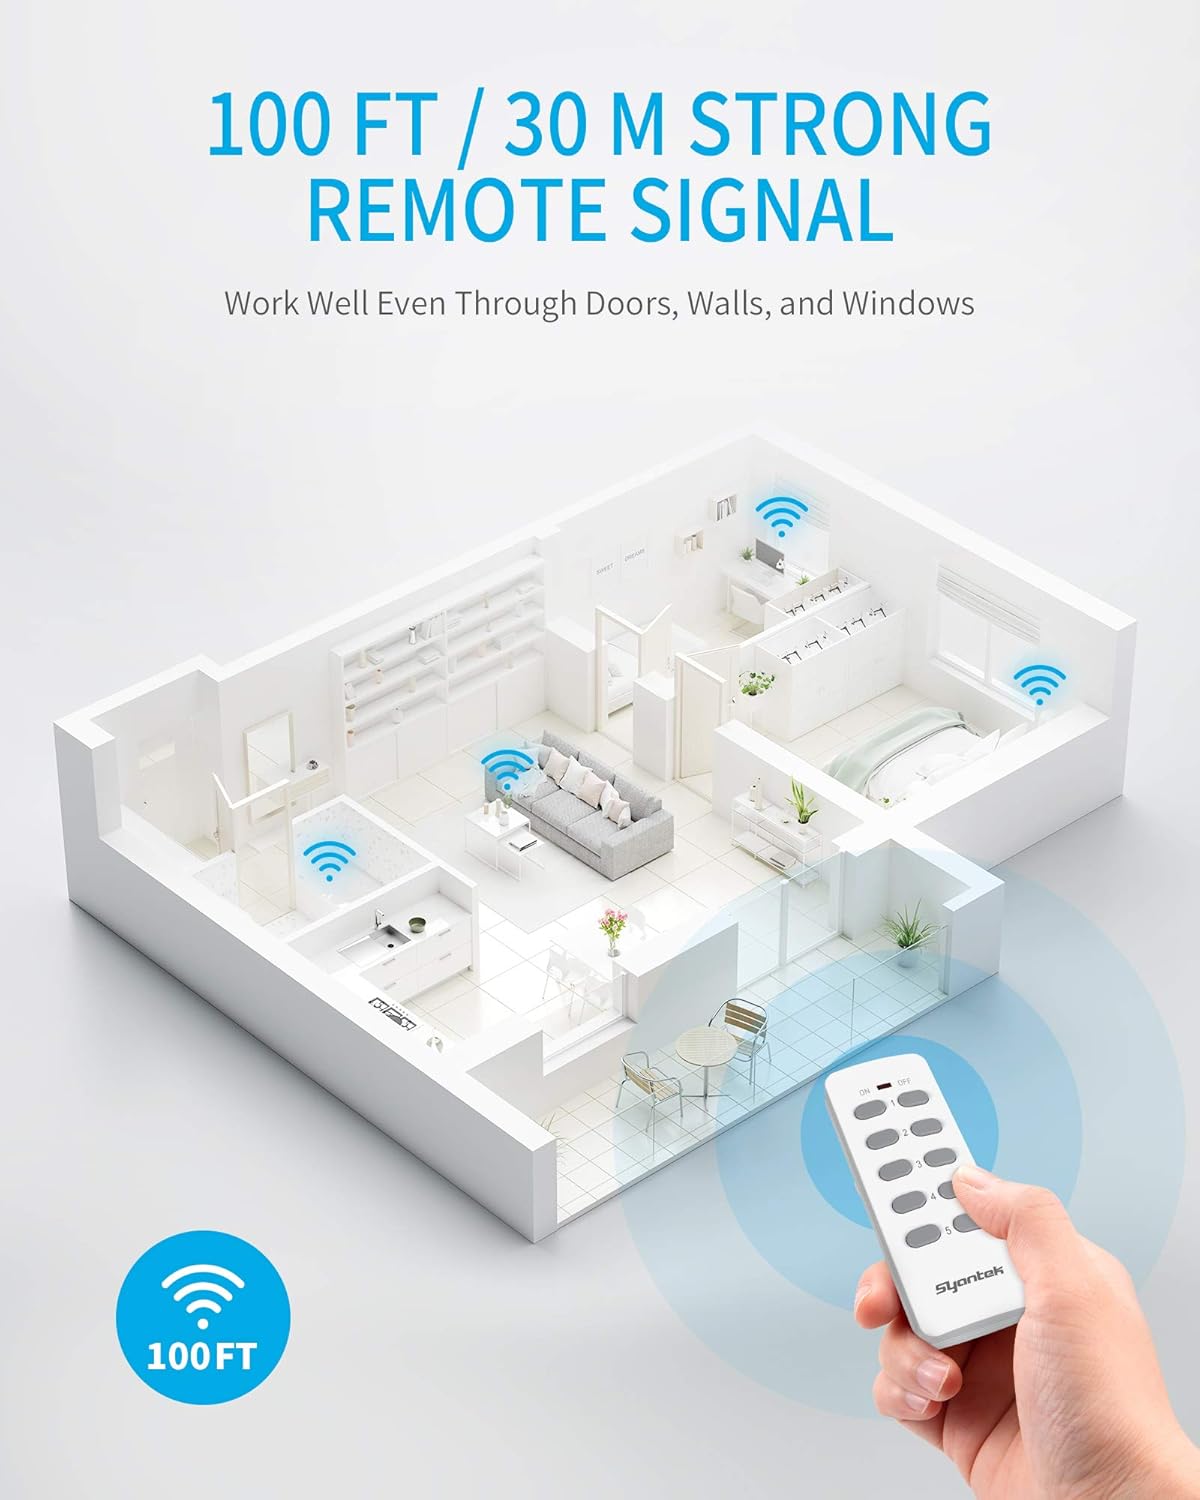
Placement and Range Tips
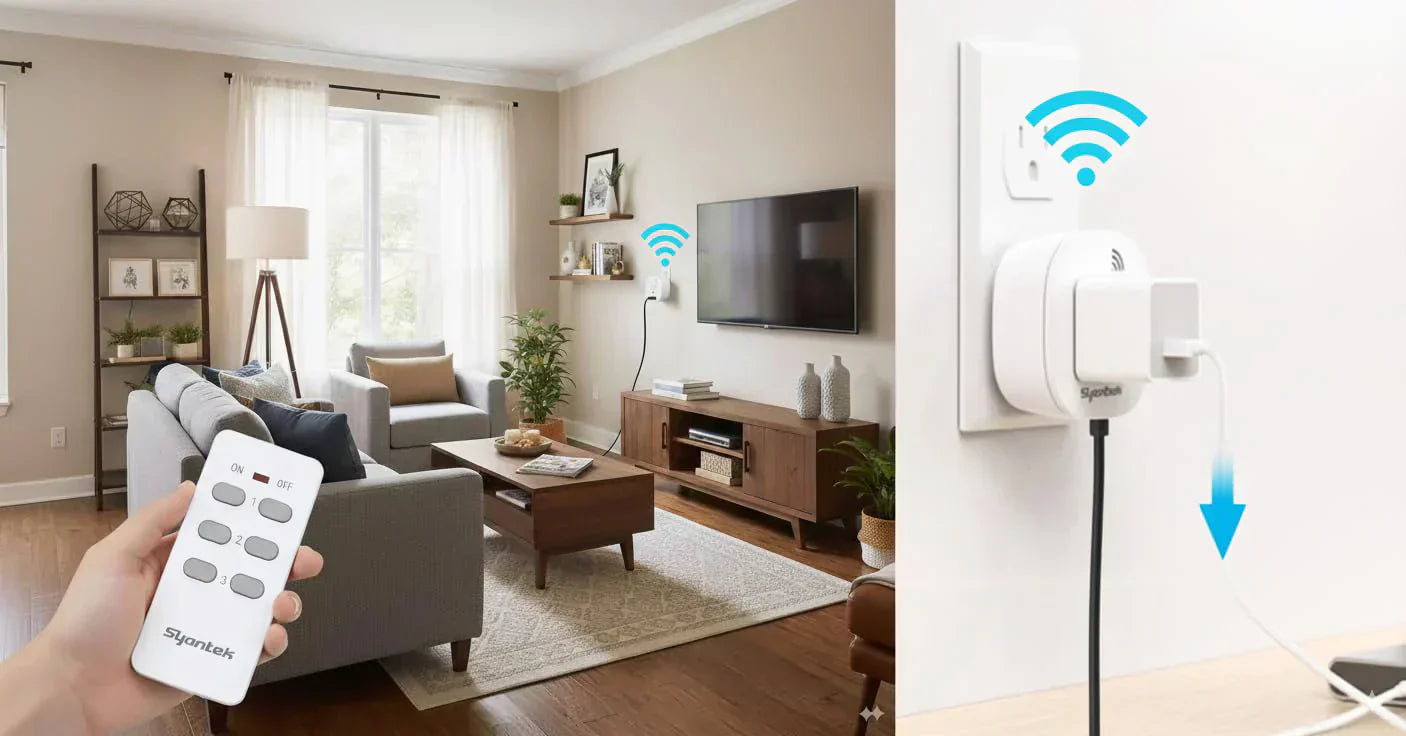
Even a well-mapped system can stumble if plugs are hidden in the wrong place. For best results, keep plugs raised slightly off the ground, facing outward instead of tucked behind furniture, and away from large metal surfaces. Test before tidying cables, since bulky power bricks can sometimes block signals.
If your remote feels inconsistent, replace the battery early—weak batteries are a common cause of short range and misfires. Also remember that while these remotes often work through walls, heavy furniture and multiple barriers can reduce reliability.
Safety Reminders
Always check the maximum ratings listed for your specific model. Typical indoor outlet kits handle up to 15 amps or 1875 watts, but they’re not designed for space heaters or heavy appliances. Don’t daisy-chain multiple power strips, and keep plugs in well-ventilated, accessible spots. For outdoor decorations, choose a weather-resistant version.
A Quick Fix Checklist
If a lamp isn’t responding, run through this short list:
- Make sure the outlet has power and the lamp’s own switch is turned on.
- Replace the remote battery if range seems weak.
- Adjust the placement of the plug to face outward and avoid metal obstacles.
- Re-pair the plug to the correct button if the mapping has been lost.
- Test from closer range to confirm if placement is the issue.
- In most cases, these quick checks resolve problems in under two minutes.
Final Thoughts
Remote outlet kits don’t have to be confusing. With a little planning and a consistent system, you can set up your living spaces so that every button press does exactly what you expect. Whether you want a one-tap “lights out” routine, simple bedside control, or a master switch for your whole living room, the key is consistency in naming, grouping, and labeling.
Once you’ve set up your zones and created a button map, you’ll never press a switch in frustration again. Instead, you’ll enjoy smooth, reliable control over your lamps and a home lighting system that feels truly effortless.
Remote Control Outlet FAQs
Q: Can one button control multiple plugs?
A: Yes! Most remote control outlet kits let you put each plug into learning mode and assign them to the same button. This groups multiple plugs together, so you can turn on several lamps or devices with one press.
Q: Can I control one lamp separately from a group?
A: Absolutely. To keep a lamp independent, pair it with its own button instead of adding it to the group. It will then work on its own while grouped outlets respond together.
Q: What if two remotes start controlling the same plug?
A: This usually happens when a plug was accidentally paired with both remotes. To fix it, clear the plug’s memory and re-pair it only with the intended remote. Labeling remotes by room can help prevent confusion.
Q: Do remote control plugs work through walls or behind furniture?
A: Yes, but range can be reduced. For best results, keep the plug facing outward, slightly raised, and away from large metal objects. If range becomes inconsistent, replace the remote battery—weak batteries are the most common cause.
Q: Do I need Wi-Fi or an app?
A: No. Standard RF remote outlet kits are plug-and-play—they work right away without Wi-Fi, apps, or hubs. If you want timers, scheduling, or voice control, consider a smart outlet that connects to Wi-Fi or smart assistants.Ready to Build Your Setup?
👉 Shop Remote Control Outlet Kits ↗ – Control Your Devices Remotely